How to install pfSense Router in ESXi for a home lab
Lab Requirements
- General TCIP knowledge and what a router is. This is a good resource to start with
- An Installation of vSphere ESXi 6.5 (for me) with a network connection
- Download pfSense ISO from pfSense website for FREE.
- Basic vSphere virtualization knowledge is assumed.
Why pfSense?
Well, first, its free and there are is a lot of documentation about it online. I have realized that if one can configure pfSense, they can work with most routers that come with a GUI like Sonicwall. PfSense can be virtualized and its easy to configure. I also like that the web interface is easier to work with, than cli interfaces like in cisco routers.
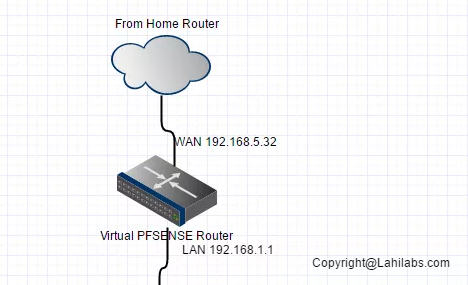
Pfsense allows us to mimic real life WAN to Lan connections and that’s great for a home lab.
This lab will continue the setup described IT Home Lab setup for Beginners- Part 1
Step 1:
Download pfSense ISO from pfSense Website
Step 2:
Upload the ISO to the ESXi Datastore as shown bellow:

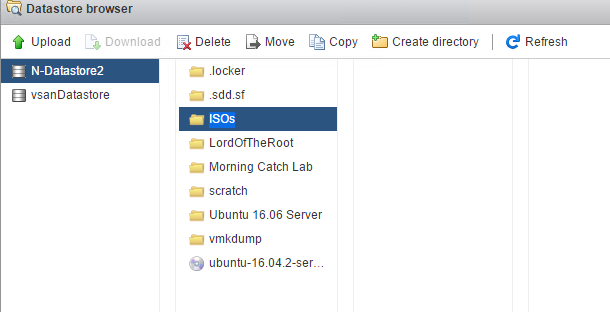
For more info on how to upload an ISO to a datastore- do a google search or check out this VMware documentation about it
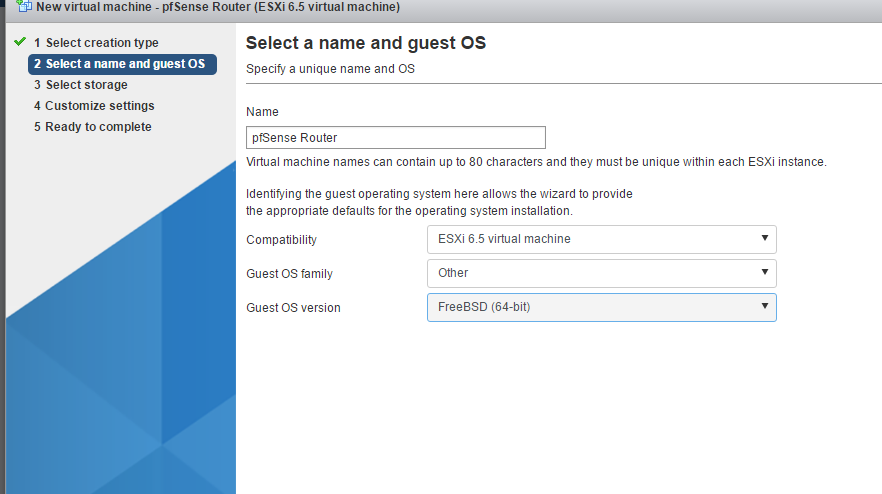
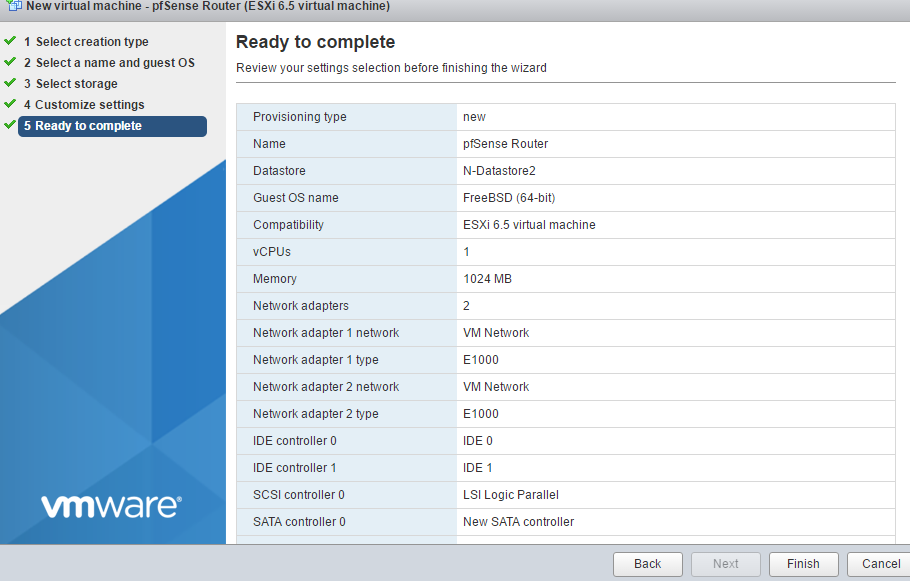
Next we have to create a new VM and attach that ISO. I think good IT professionals should know how to do basic research so, im not going to describe how to create a new virtual machine in ESXi, but you can google it or use this link
In the VM settings, browse to the CD drive and attach it to the datastore ISO image as shown bellow.

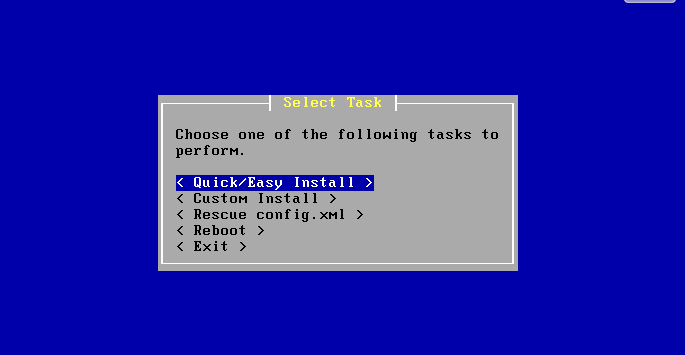
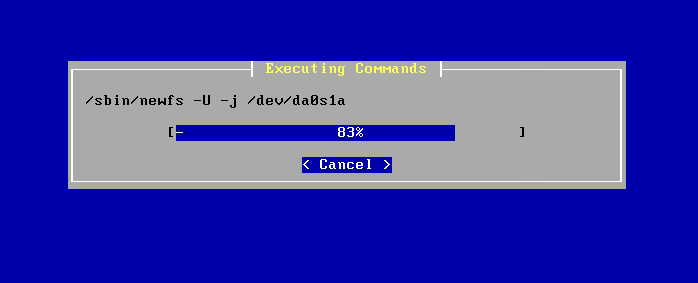
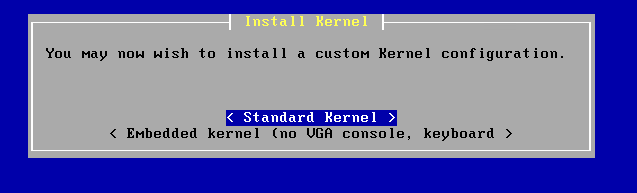
Choose Quick and Easy Install and the install will begin as shown in screenshots bellow.
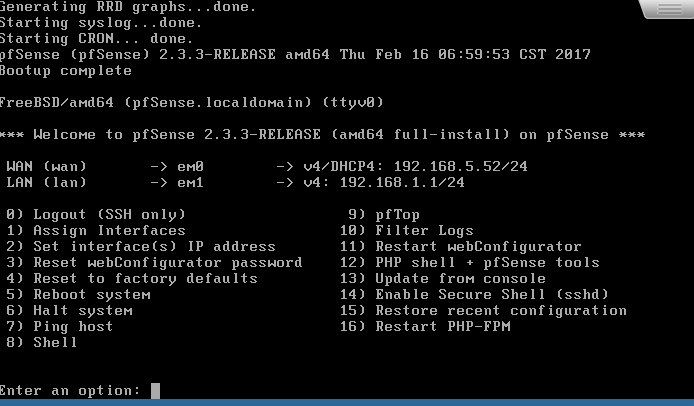
I got 192.168.5.52 on the WAN interface from DHCP and LAN is 192.168.1.1.
Next we will configure our installed pfsense to work with Esxi Virtual Switch.