How To Install ELK SIEM For Beginners – Complete Guide
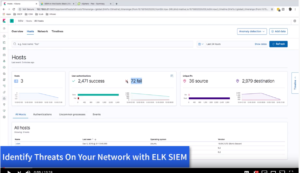
In 2019, Elastic, the company that brought us the ELK (Elastic, Logstash and Kibana) stack released an ELK based SIEM (Security information and event management System). A SIEM is critical to the operation of a Security Operation Center. I made a video on my youtube channel that can show you some of the information that you can get from the ELK SIEM. Please watch that video to get an idea of what to expect after completing the easy installation guide bellow.
https://www.youtube.com/watch?v=NbXBOaIfGfU
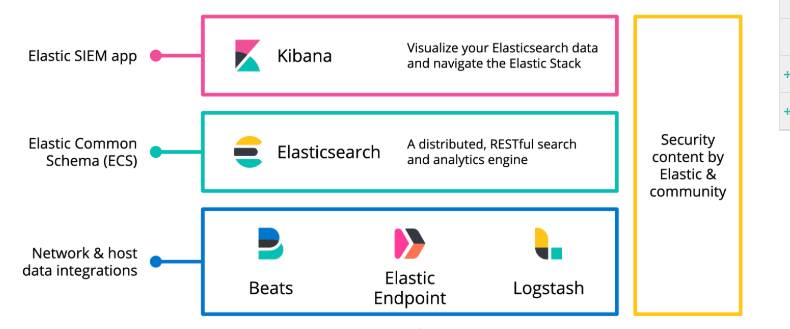
How does ELK SIEM Work?
Here is a diagram from elastic.co that shows all the components needed for the SIEM to work. You can find a detailed explanation here: https://www.elastic.co/guide/en/siem/guide/current/siem-overview.html
Installation Process
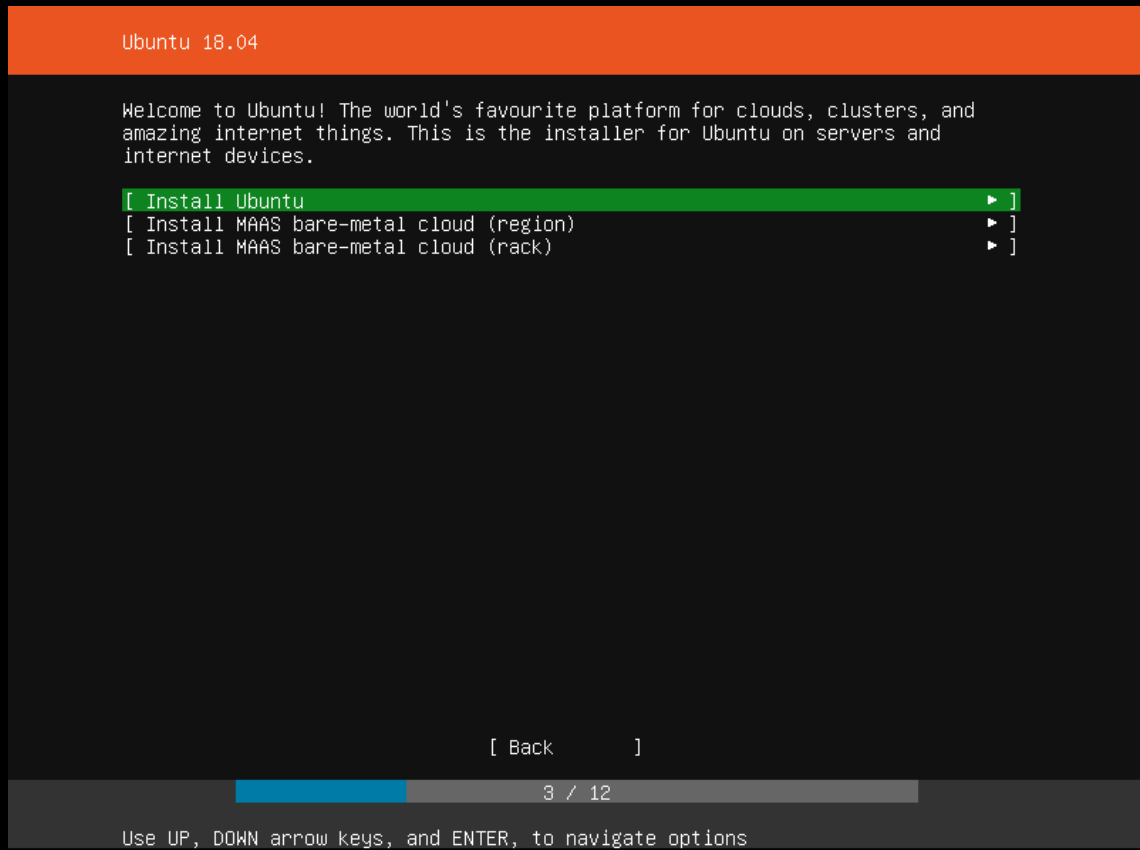
- Install Ubuntu 18
- Install ELK SIEM
- Ship Data to the SIEM using endpoint agents
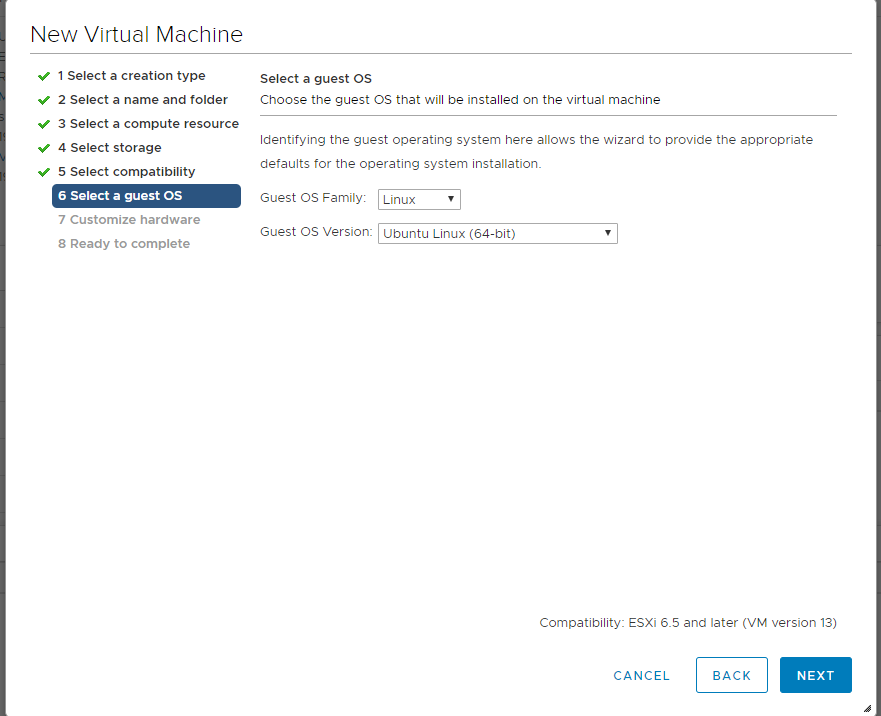
Installing Ubuntu 18
The installation of ubuntu should be clear and straight forward for you. In my lab , running on VMWare , my VM has the following settings: In the future I would like to try this in docker and k8.
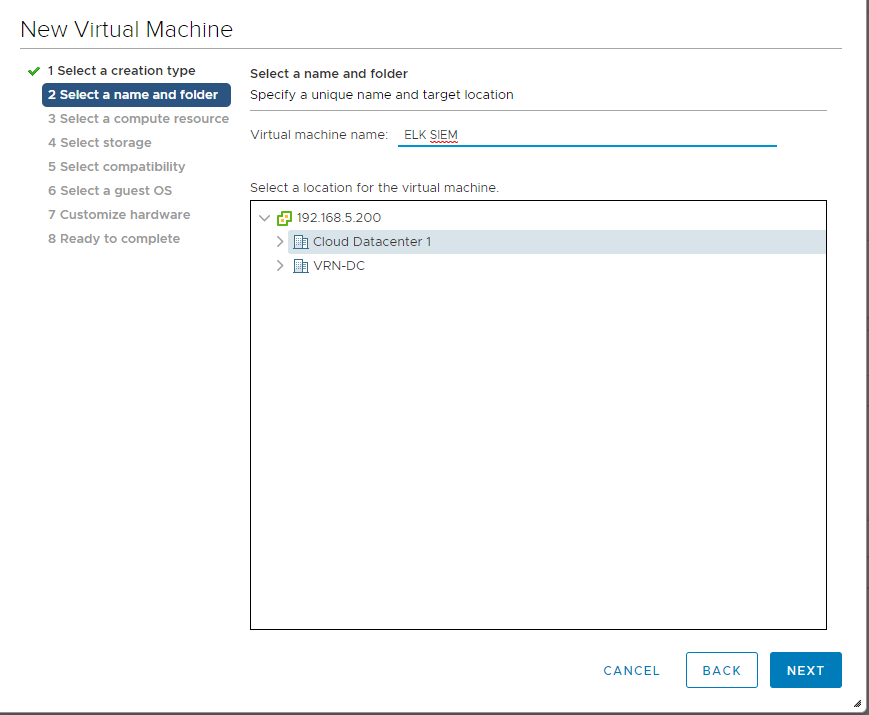

Boot and the machine and Install Ubuntu
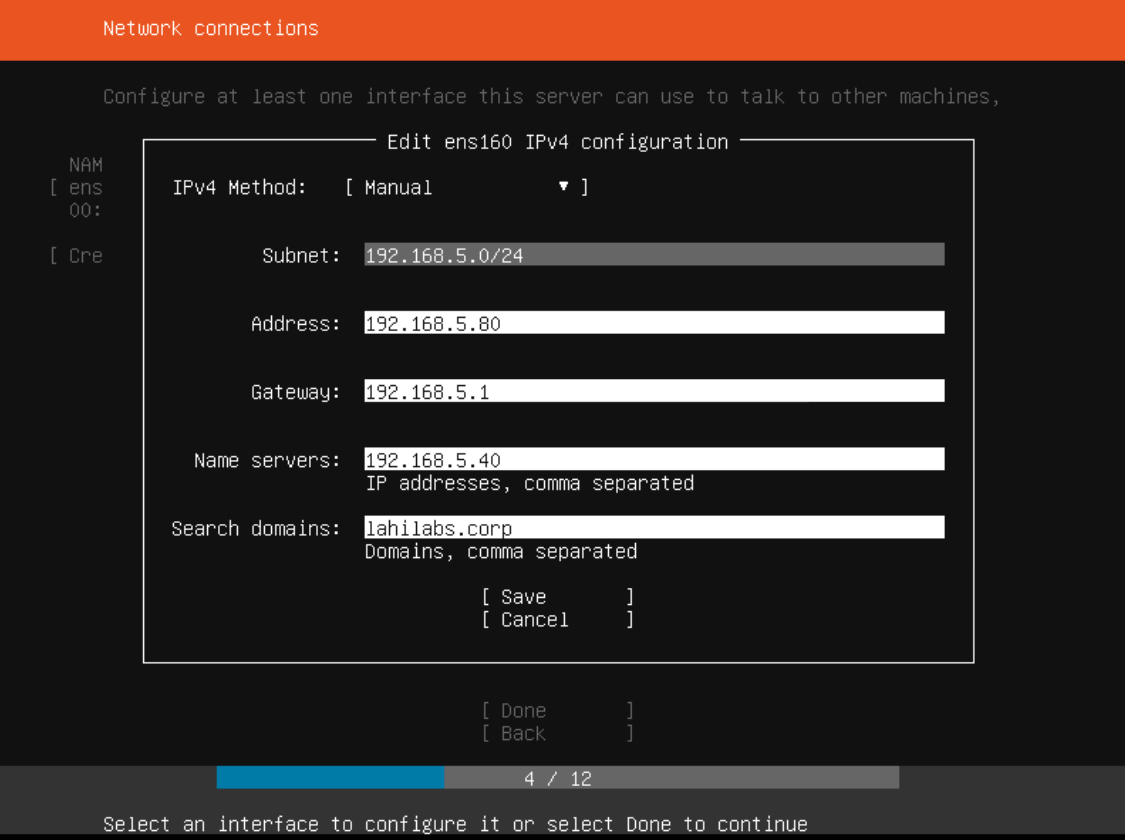
Set a static ip address
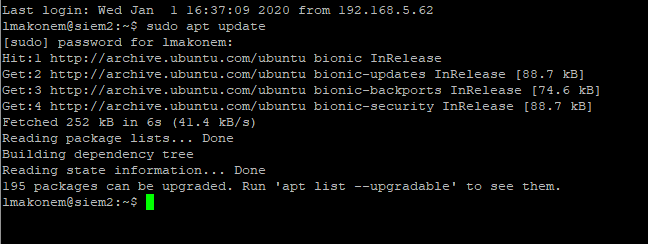
Once done with the installation, update the sources.list file
Sudo apt update
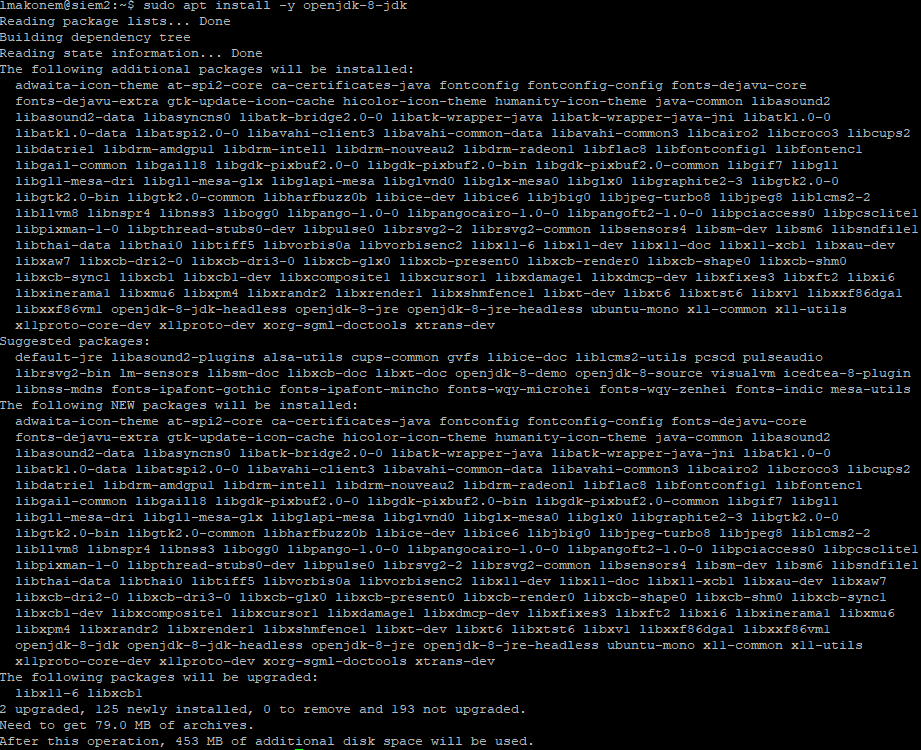
Install java JDK8
sudo apt install -y openjdk-8-jdk
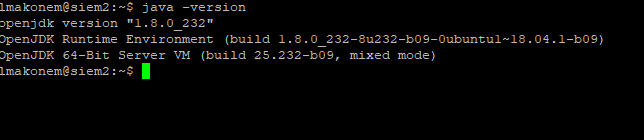
Check Java Version and make sure its installed properly
We are ready to install elasticsearch. We will be using commands from:
https://www.elastic.co/guide/en/elasticsearch/reference/current/deb.html
wget -qO – https://artifacts.elastic.co/GPG-KEY-elasticsearch | sudo apt-key add –
From <https://www.elastic.co/guide/en/elasticsearch/reference/current/deb.html>

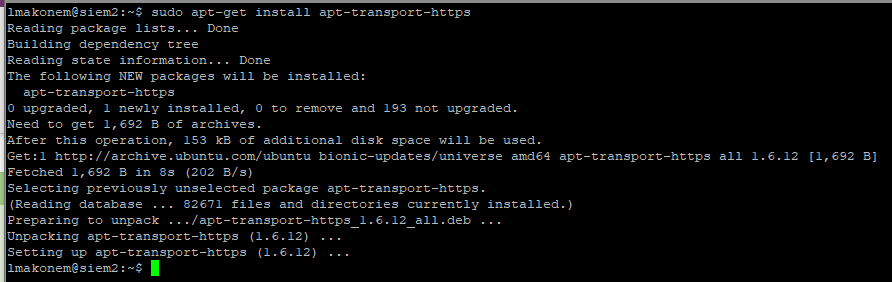
Install apt-transport-https package if needed:
sudo apt-get install apt-transport-https
Save the repository definition to /etc/apt/sources.list.d/elastic-7.x.list:
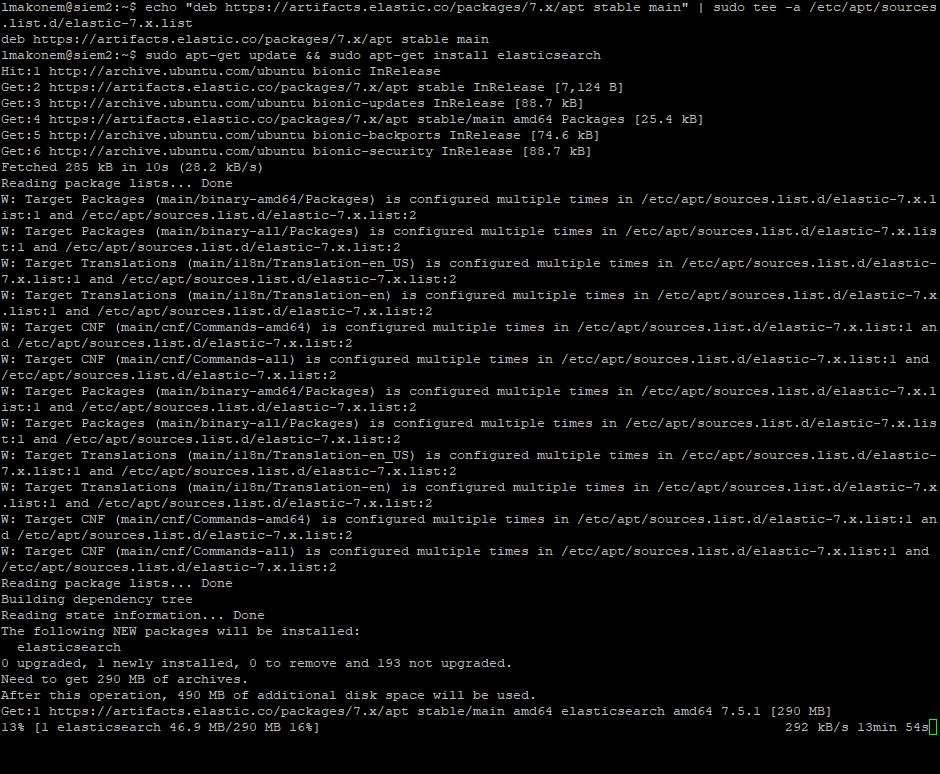
echo “deb https://artifacts.elastic.co/packages/7.x/apt stable main” | sudo tee -a /etc/apt/sources.list.d/elastic-7.x.list
Now install elasticsearch
sudo apt-get update && sudo apt-get install elasticsearch
Configure the /etc/elasticsearch/elasticsearch.yml , uncomment and change network.host to 0.0.0.0 and http.port to 9200
sudo vi /etc/elasticsearch/elasticsearch.yml
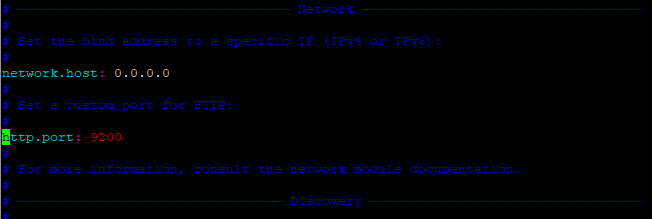
Please note, in production, do not use 0.0.0.0 for the network.host. This is just an isolated lab.
Start elasticsearch automatically on boot:
sudo update-rc.d elasticsearch defaults 95 10
From <https://www.elastic.co/guide/en/elasticsearch/reference/current/deb.html>
Start elasticsearch
sudo -i service elasticsearch start
From <https://www.elastic.co/guide/en/elasticsearch/reference/current/deb.html>
Note, elasticsearch fails here, we need to make one more change

Change the cluster.initial master nodes: ( I googled this and this is why it fails to load)
sudo vi /etc/elasticsearch/elasticsearch.yml
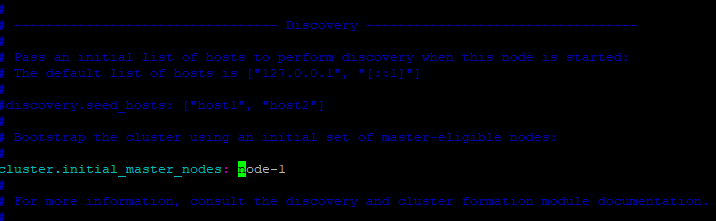
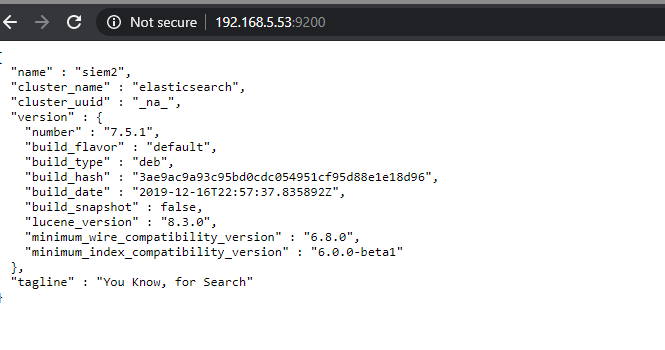
Now start elasticsearch again and on a web browser visit http://192.168.5.53:9200/ (replace with your ip address). You should see this. Elasticsearch is now installed.
INSTALLING KIBANA
Next, we will install Kibana. I am using these instructions:
https://www.elastic.co/guide/en/kibana/current/deb.html
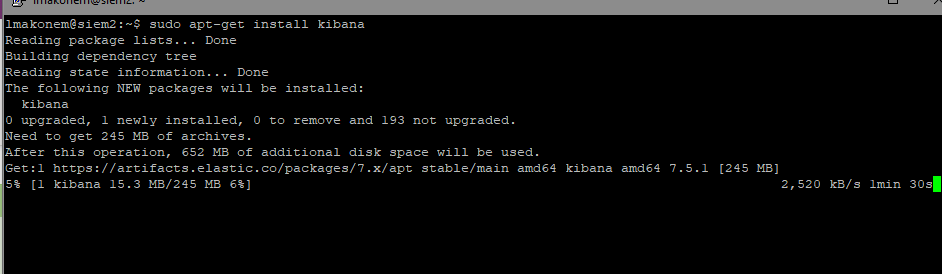
We already have our repos, so we can just run:
sudo apt-get install kibana
From <https://www.elastic.co/guide/en/kibana/current/deb.html>
Once done, lets configure kibana
sudo vi /etc/kibana/kibana.yml
![Machine generated alternative text:
server . host :
elasticsearch . hosts :
o o: 9200"]](https://www.lahilabs.com/wp-content/uploads/2020/01/machine-generated-alternative-text-server-host.png)
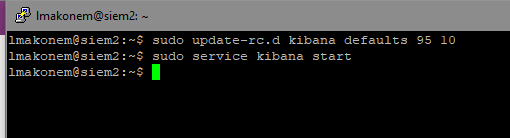
Save and enable kibana to start on reboot:
sudo update-rc.d kibana defaults 95 10
And start kibana
sudo service kibana start
DONE! Now go to https://YOUR-IP-HERE:5601
You might see this:
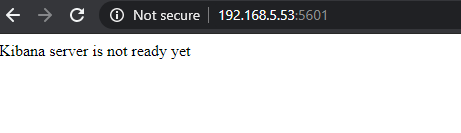
Wait for kibana to initialize, sometimes it takes a few minutes depending on how many resources your machine has.